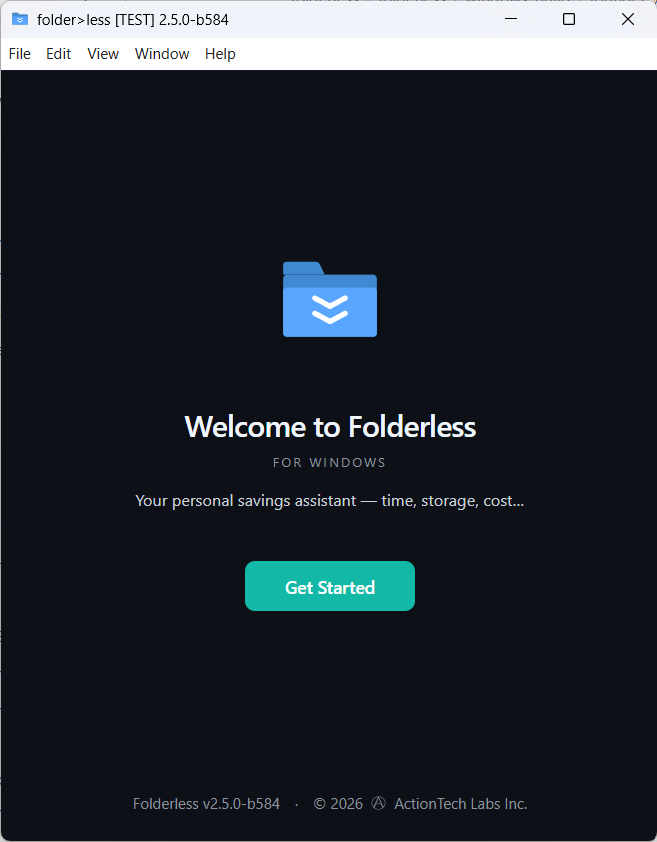
Get started with folder>less.
A few quick steps to get Folderless running — download, install, sign in, activate.
- 1
Download
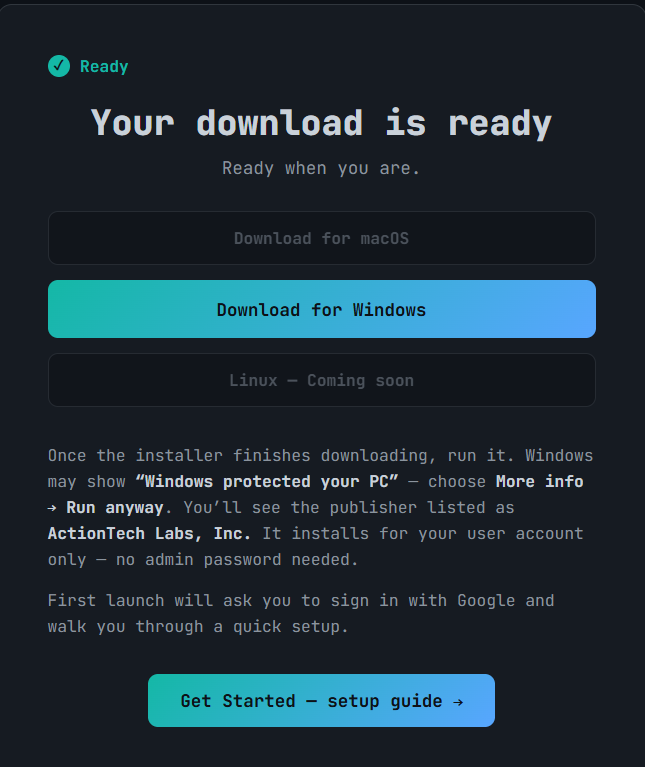
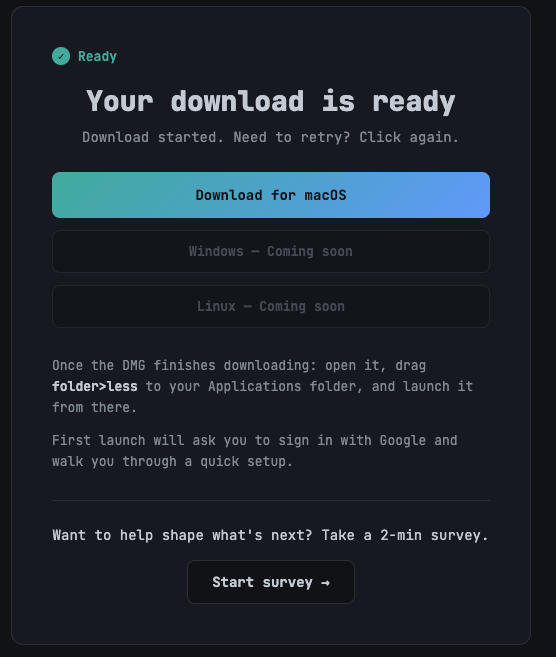
Grab Folderless from the download page — the button offers the right build for the computer you are on.
- 2
Install
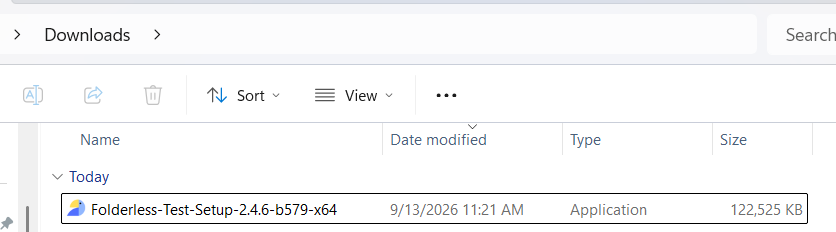
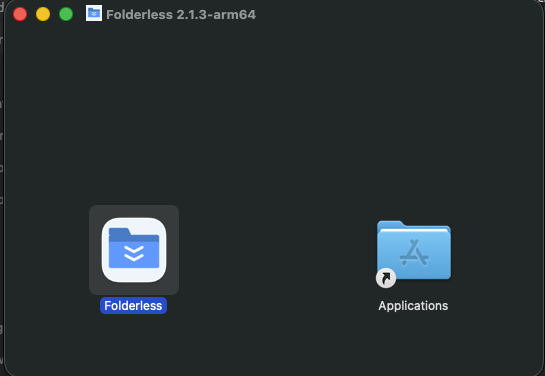
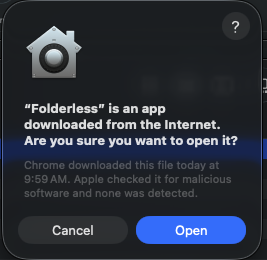
Open the DMG from your Downloads, drag Folderless into your Applications folder, then open it — approve the one-time macOS security prompt.

- 2.5
Windows only: install the Microsoft runtime (one time)
Before you open Folderless for the first time, install the Microsoft Visual C++ Redistributable (x64) — a small, one-time Windows component that Folderless's local database needs. Run it, and restart your PC if it asks. Many PCs already have it; running it again is harmless.
- 3
First-run setup
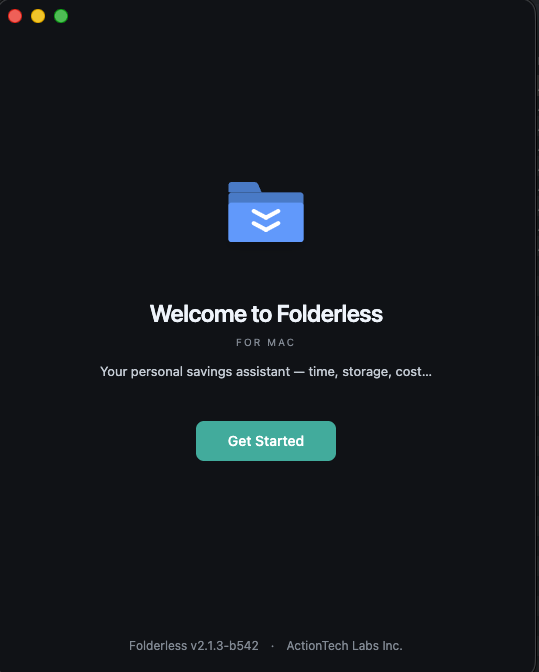
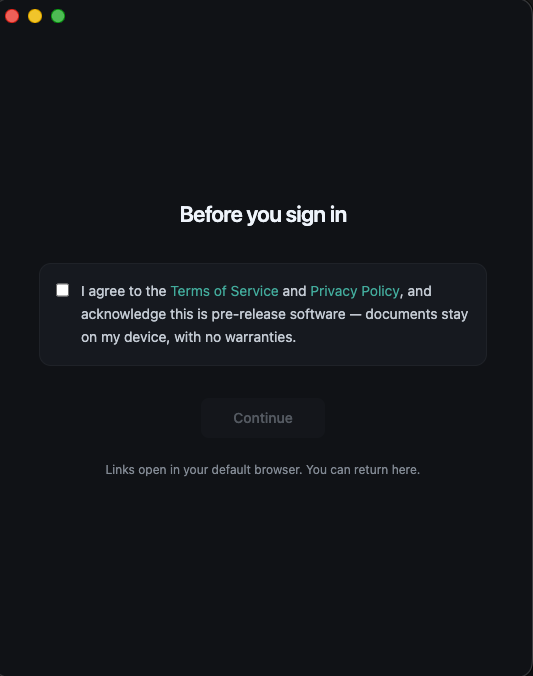
On first launch, Folderless does a quick one-time setup right on your computer (nothing is uploaded), then asks you to accept the Terms & Privacy.
- 4
Sign in
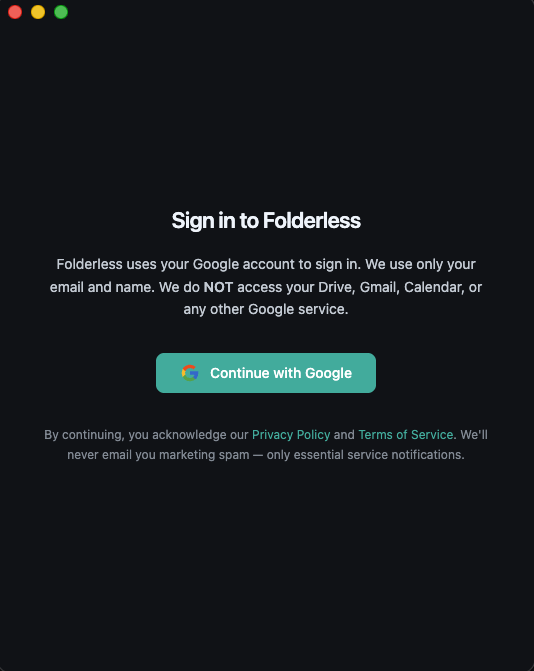
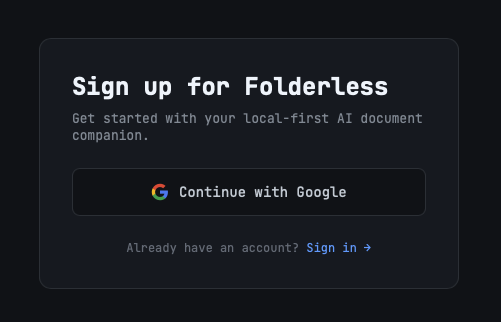
Sign in with Google — we use only your email and name (no Drive, Gmail, or Calendar). Finish in your browser, then return to the app.
- 5
Activate — you're in
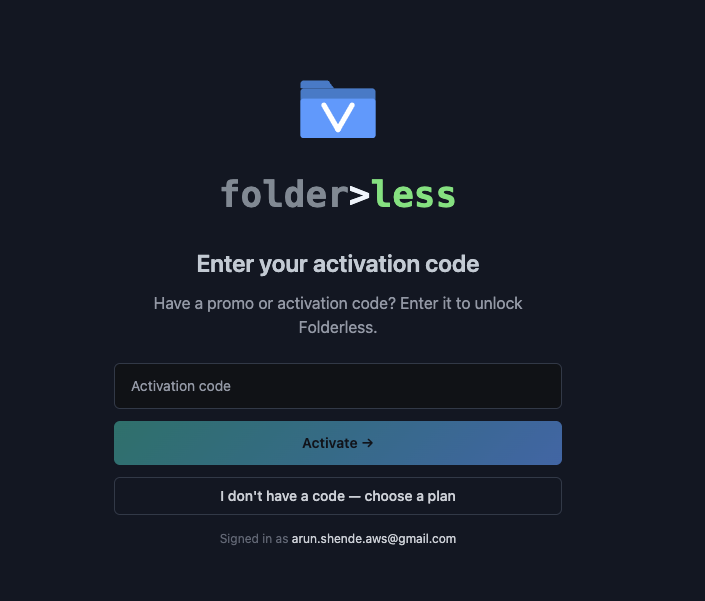
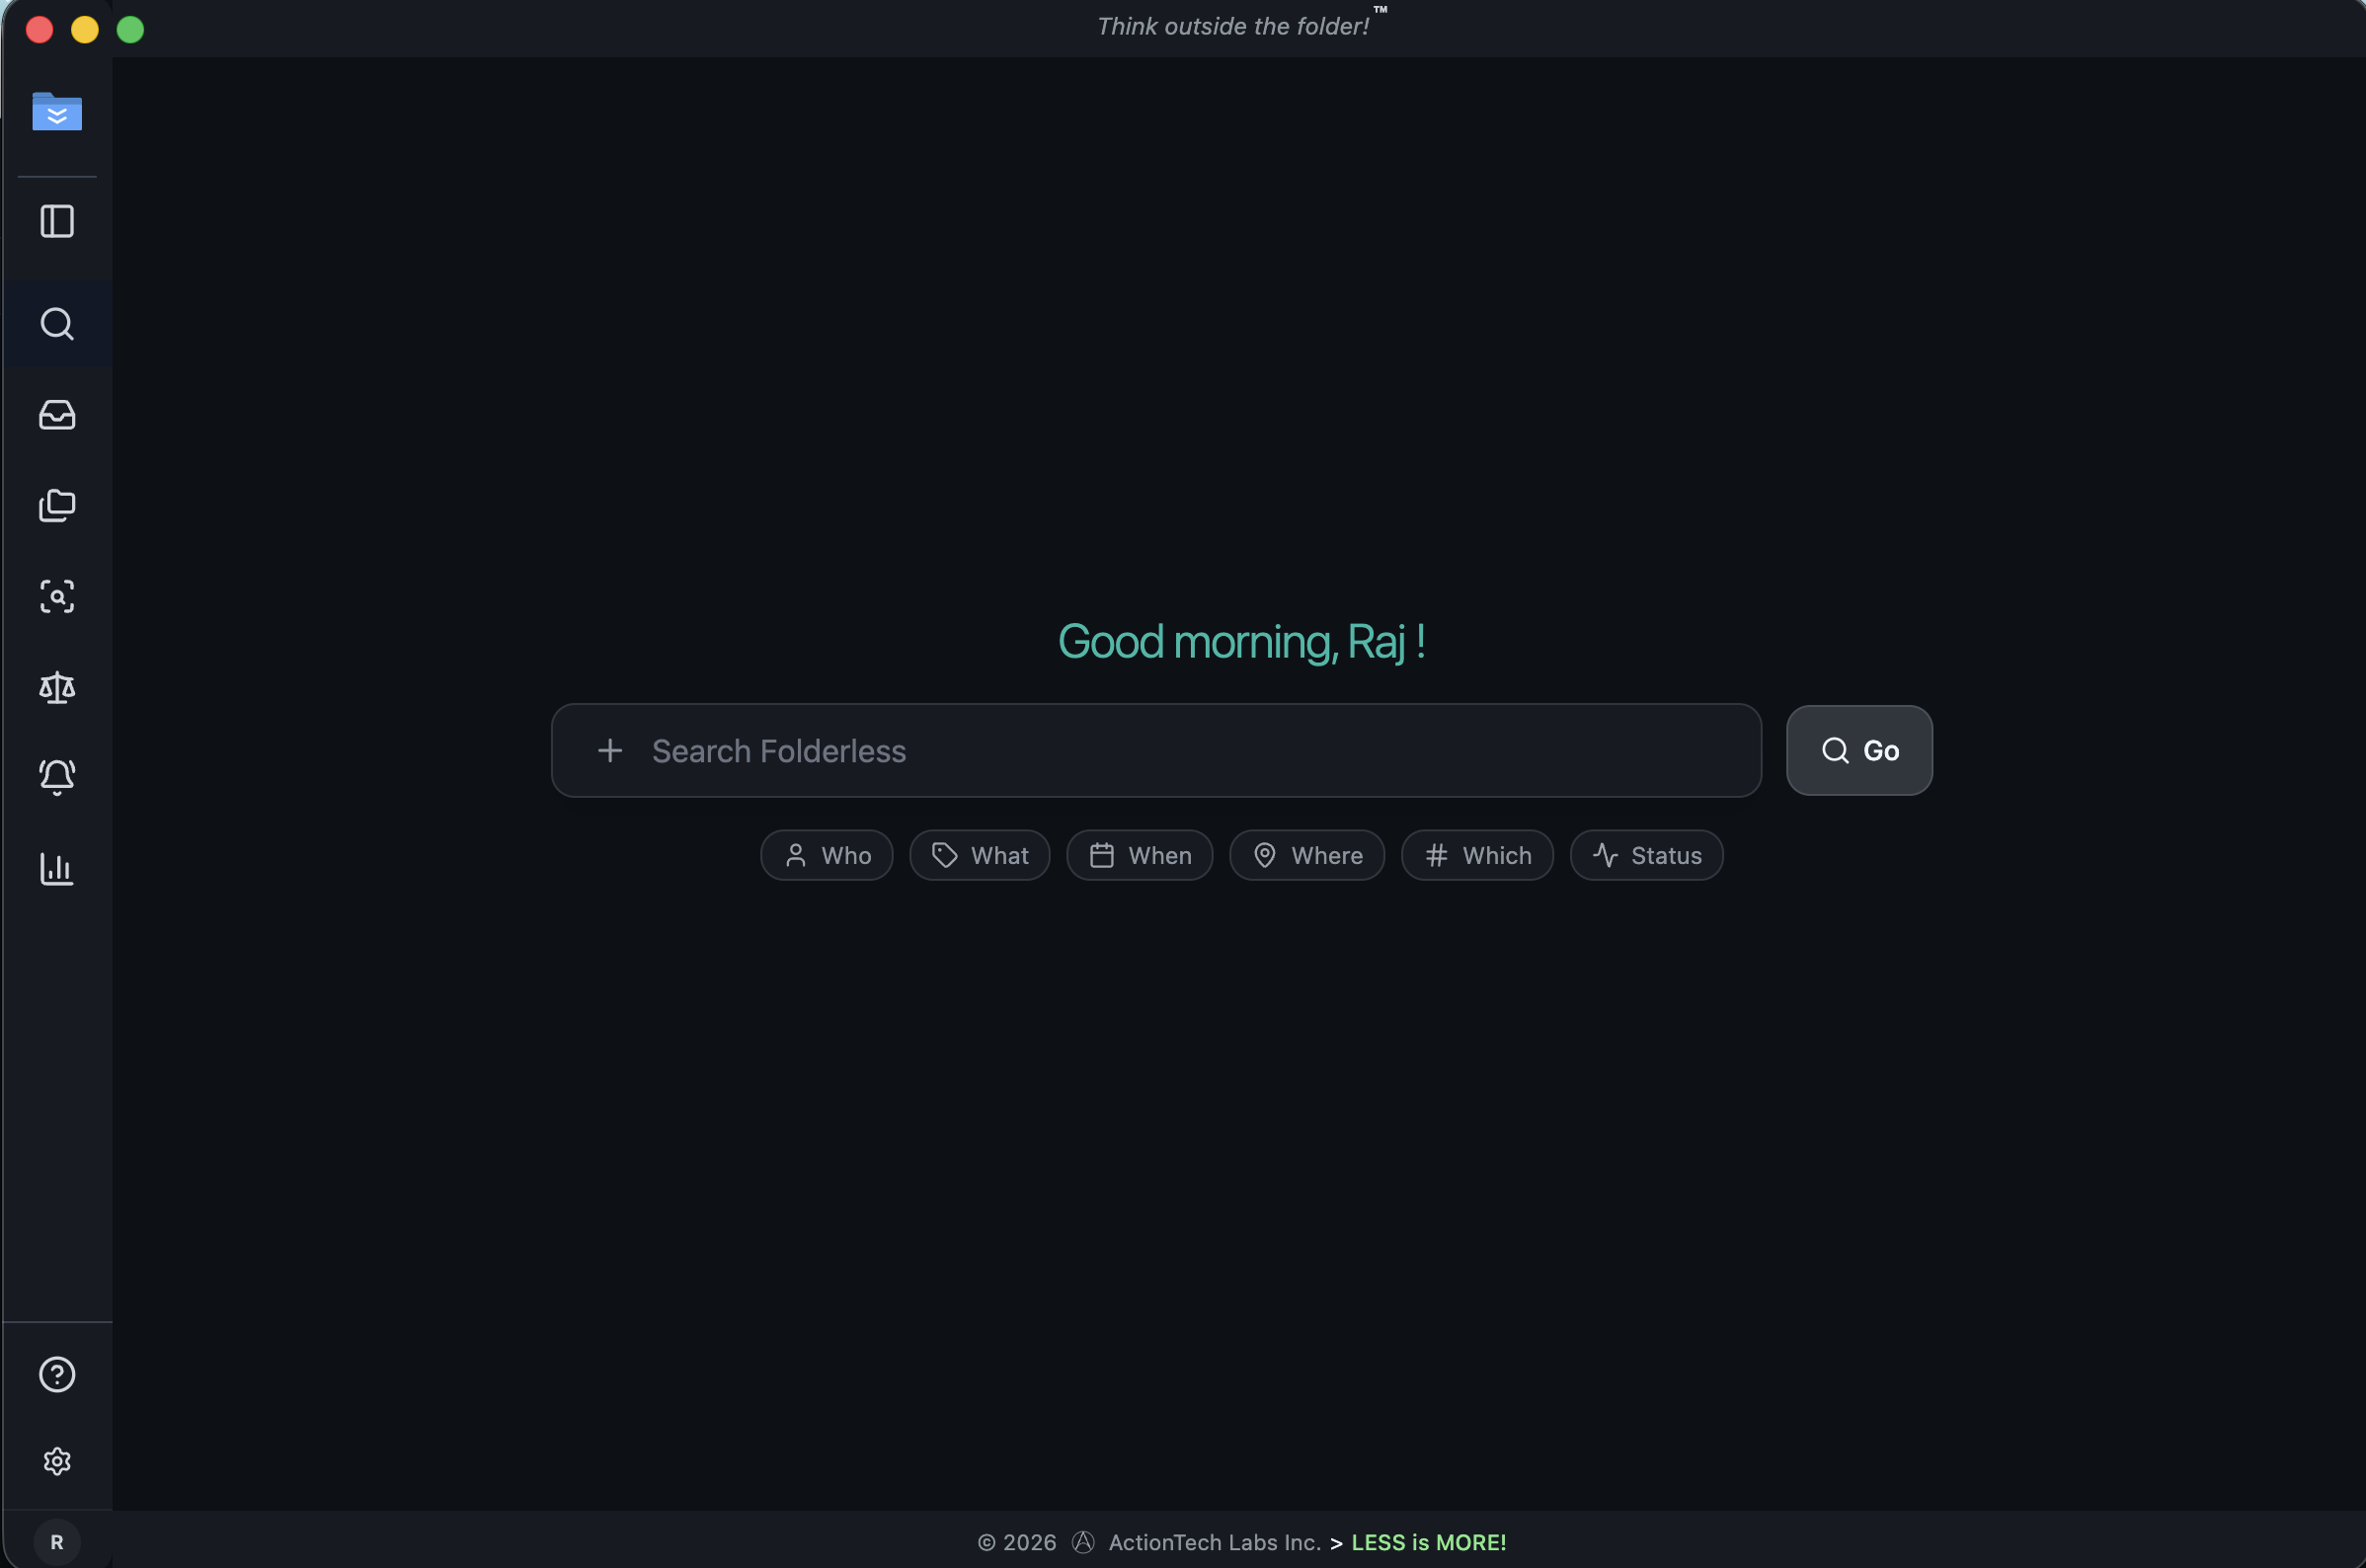
Enter your access code to unlock, or choose a plan (the Professional trial is free during launch). Then you land on your Home screen — ready to find anything by who, what, when, where, or which.